
Quick Answer
Review a kitchen backsplash as a complete wall composition, not just a single tile. Ask to see the proposed pattern, grout appearance, focal point, boundaries, and exposed edges alongside the cabinets and countertop. Mark unresolved questions on the actual kitchen drawing, and have the tile professional confirm the installation details before approval.
A tile can look beautiful in your hand and surprisingly different across a wall. Repetition, joints, corners, and the place where the pattern stops all become part of the finished kitchen. A short layout review can make your preferences much clearer before the material is installed.
Contents
- Start with the wall you actually have
- Look at more than one tile
- Choose what should draw the eye
- Discuss boundaries and exposed edges
- Use a focused layout-review record
- Connect the choice to the whole kitchen
- Frequently asked questions
Start With the Wall You Actually Have
Bring the current kitchen elevation or the drawing your design team uses to show the wall. Identify cabinets, the countertop, windows, the hood, and visible devices. Confirm whether their locations are settled or still being developed. A layout based on an outdated drawing can answer the wrong question very neatly.
Write down which surfaces you want tiled. Do not leave phrases such as “the whole backsplash” unexplained when one person may mean only under the cabinets and another imagines tile continuing around a window or behind open shelving.
Separate appearance questions from technical ones. You can explain where you want the eye to travel and which edge looks unfinished to you. The project professionals must determine material suitability, required protection, clearances, substrate preparation, and the installation method for the actual location.
Look at More Than One Tile
Ask for enough representative samples to understand the selected product’s variation and repeat. One attractive piece may not show the range you should expect. Keep the product name, size, finish, and identifying information with the samples so similar-looking options do not become confused.
View the proposed arrangement beside the cabinet and countertop samples. Compare the pattern from close up and from a normal room-viewing distance. A layout can read as quiet from across the kitchen and highly detailed at the counter; decide whether both impressions fit what you want.
Include the proposed grout appearance in the conversation. A contrasting joint can make the repeat more noticeable, while a closer color may make the surface read differently. Ask for a representative sample or mockup rather than treating a printed color strip as a perfect prediction of the finished wall.
Do not attempt to specify joint sizes or material compatibility from this visual exercise. Those decisions depend on the tile, selected system, and professional guidance. Your useful contribution is explaining whether you prefer a strong grid, a quieter field, or a particular rhythm.
Choose What Should Draw the Eye
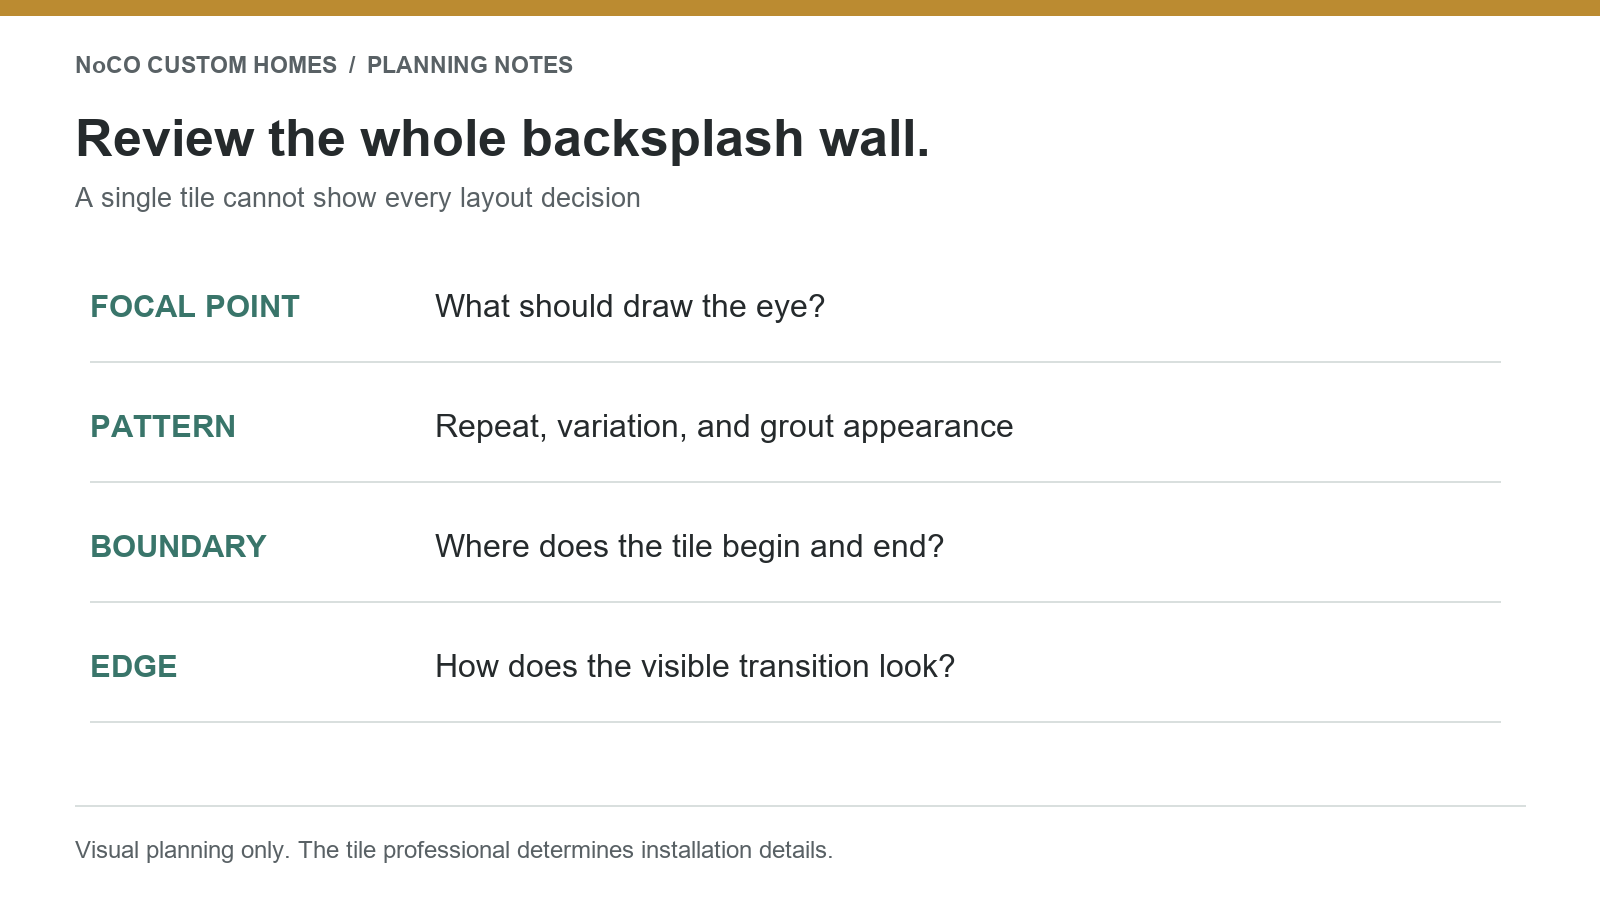
The tile professional’s backsplash-layout guide at DIYTileGuy describes how focal points and multiple competing centers affect a layout. That is a helpful distinction: the center of a wall, the hood, and the cabinets are not always the same visual reference.
Ask your team to show the proposed emphasis rather than giving a blanket instruction to center everything. If a hood is the feature you care about most, say so. If the tile is intended as a quiet background to distinctive cabinetry, explain that instead.
Compare alternatives on the same drawing. In a hypothetical kitchen, one layout might emphasize the range wall but create a less balanced end beside a window. Another may improve that end while changing the pattern at the hood. Seeing the tradeoff is more useful than assuming every location can have identical symmetry.
You do not need to invent the solution yourself. Mark the part that bothers you, ask the installer or designer to explain the options, and record which compromise you prefer. Keep the final layout tied to the exact tile being ordered.
Discuss Boundaries and Exposed Edges
Follow the proposed tile area around the drawing with your finger. Stop at each outside edge, corner, window, shelf, and change in height. Ask what the finished transition will look like. These are often the places a single showroom sample cannot explain.
Request the actual trim or edge-product reference where one is proposed. Compare its appearance with the tile and nearby hardware without assuming every metallic finish must be identical. Confirm which parts are visible and which are construction details handled by the team.
Devices and fixtures deserve coordination, not concealment at any cost. Do not move an outlet, alter appliance clearances, or cover access just to improve a pattern. Raise the visual concern early and have the qualified trades determine what is permitted and practical.
For ongoing care, use the exact manufacturer’s guidance. NoCO’s easy-to-clean kitchen guide covers the maintenance conversation. This layout review addresses how the finished wall is composed, not a promise that a certain tile or grout never needs attention.
Use a Focused Layout-Review Record
Keep the following items together so a verbal preference does not become detached from the selected product:
- Drawing: wall name, sheet, and revision being reviewed.
- Material: exact tile and the samples used for comparison.
- Pattern: the proposed orientation and visual emphasis.
- Boundaries: where the tile starts, stops, and changes direction.
- Finish details: proposed grout appearance and visible edge treatment.
- Decision: what is agreed, what remains open, and who will confirm it.
Photograph a sample arrangement for reference, but label it as a sample. Include a wider image showing neighboring materials, not only a close-up. Record the sample date and any product changes. If a replacement tile has a different size or variation, reopen the layout discussion instead of treating the original approval as automatically transferable.
Connect the Choice to the Whole Kitchen
NoCO’s Modern Craftsman with Warm Wood + Brass highlights a statement range wall and mixed wood cabinetry. The published description supports using that project to discuss visual emphasis; it does not establish a particular tile manufacturer or installation system.
Compare the way the range area relates to the cabinetry, then return to your own priorities. The broader NoCO chef’s-kitchen planning guide helps connect finishes with cooking and gathering. A backsplash should belong to that larger plan rather than become an isolated shopping decision.
Frequently Asked Questions
Should backsplash tile always be centered behind the range?
Not automatically. Review the actual wall, focal point, boundaries, and proposed cuts with the tile professional. Ask to see the visual tradeoffs.
Is one tile sample enough to choose a backsplash?
Often it cannot show the full repeat or product variation. Ask the supplier for representative samples and discuss what the finished selection can reasonably look like.
Should the tile stop at the upper cabinet or countertop?
That requires a decision on the actual kitchen drawing. Discuss the visible endpoint and edge treatment instead of assuming one rule fits every wall.
Can I choose grout from a screen image?
Use the image to narrow possibilities, then review the actual product with the tile. Ask how the sample relates to the expected finished appearance.
Does this checklist replace an installer’s layout?
No. It helps you explain and confirm visual preferences. Installation requirements, material suitability, and technical details remain with the qualified project team.
Sources and Related Resources
- DIYTileGuy: backsplash layout and focal points
- Choosing bathroom tile combinations
- NoCO project portfolio
Takeaway
Approve a backsplash as a whole wall, not a loose tile. Bring the current drawing, representative samples, and clear questions so NoCO and the project specialists can coordinate a result that belongs in your kitchen.