Quick Answer

An easy-to-clean kitchen is not created by one “best” material. It comes from reducing places where residue collects, making frequently used areas easy to reach, and choosing finishes whose care instructions fit your household. Compare cabinet profiles, countertop seams and edges, backsplash joints, flooring texture, hardware, appliance clearances, and the cleaners each manufacturer allows before selections are finalized.

Define What Low Maintenance Means for Your Household

Start with the messes and routines that happen in your kitchen. A household that cooks every night, bakes often, entertains large groups, has young children, or includes pets may notice different cleaning problems. Make a short list of the areas you wipe most often and the tasks you dislike most.

  • Grease and food residue near the range and hood
  • Water around the sink, faucet, and dishwasher
  • Crumbs at cabinet edges, toe kicks, and appliance gaps
  • Fingerprints on doors, pulls, and appliance fronts
  • Spills on counters, grout, and flooring
  • Dust on open shelves, detailed doors, and decorative trim

This list gives the design team a better target than asking for a universally low-maintenance kitchen. It also helps separate easy daily wiping from periodic sealing, filter cleaning, refinishing, or specialty care.

Cabinet Doors, Finishes, and Hardware

Door profile changes the number of corners and grooves that need attention. A slab door has a broad flat face, while Shaker and more detailed profiles create rails, panels, and edges. Either can work, but compare an actual sample after handling it. Look at how fingerprints, dust, and cooking residue appear under the kitchen’s planned lighting.

Ask the cabinet supplier for the approved cleaner, wiping method, and repair process for the exact paint, stain, laminate, veneer, or other finish being considered. Also review the top edges of doors, exposed cabinet ends, crown details, and the gap below wall cabinets. These smaller surfaces often matter as much as the front face.

Hardware can reduce direct contact with cabinet fronts, but very small, deeply textured, or closely spaced pulls may take longer to clean. Test the handle with wet hands and confirm that it is comfortable without catching clothing.

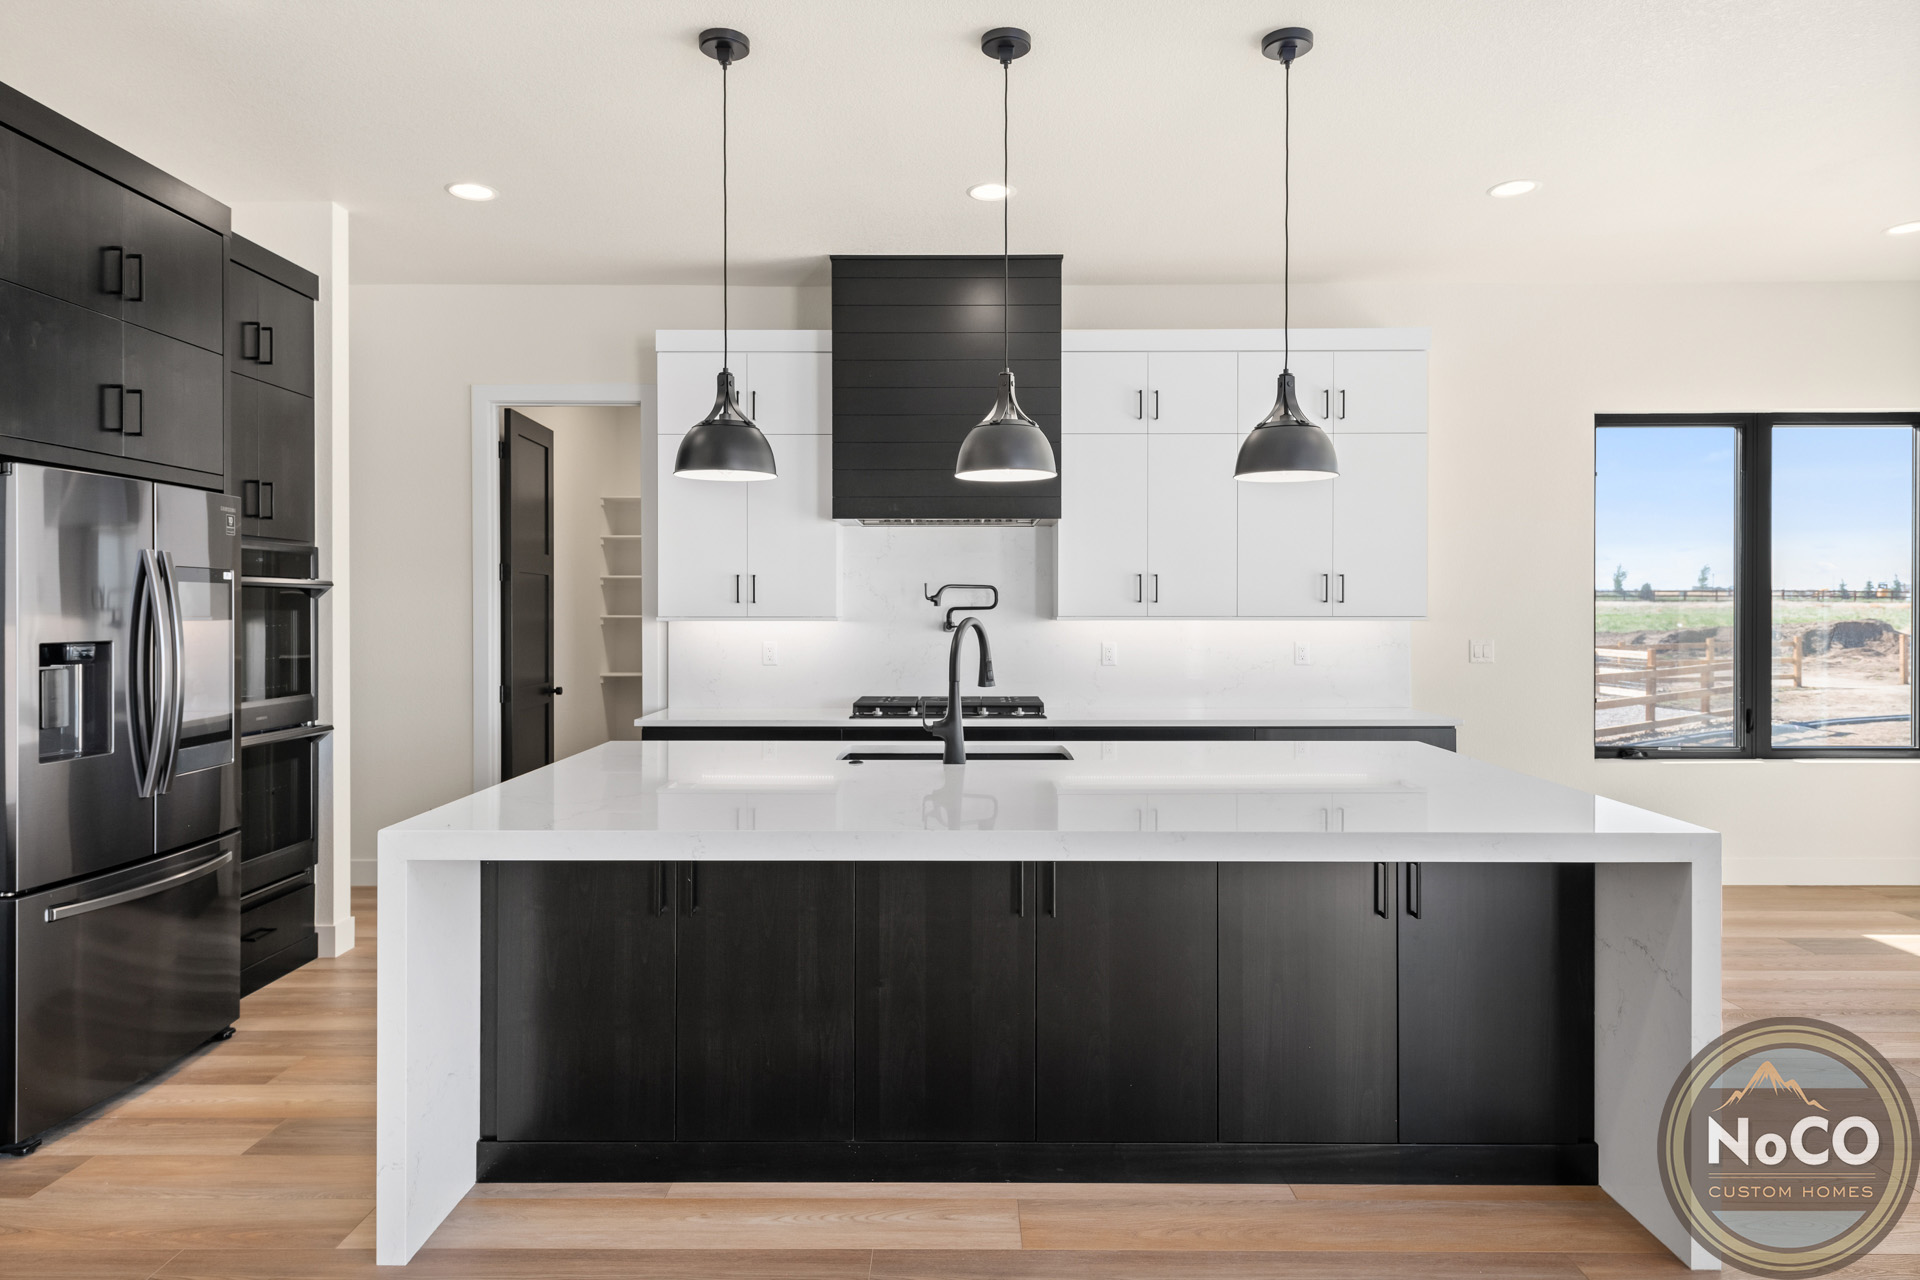
Completed NoCO kitchen with cabinet fronts, island, counters, appliances, and flooring visible
Study a completed kitchen as a connected cleaning system: cabinet profiles, pulls, counter edges, appliance gaps, flooring, and traffic paths all contribute.

Countertops: Compare Care, Joints, and Daily Use

Countertop choices vary by product, finish, fabrication, installation, and the way the kitchen is used. Instead of relying on a material label alone, ask for the written care guide for the exact product. Confirm approved cleaners, heat and impact precautions, sealing guidance if applicable, stain response, finish repair, and warranty exclusions.

Review practical details on the shop drawings: seam locations, sink cutouts, faucet penetrations, edge profile, backsplash connection, overhangs, and the joint between the counter and range. These are the places where daily wiping can become easier or harder. For a deeper material comparison, use NoCO’s separate guide to kitchen countertop materials; this page keeps its focus on whole-kitchen cleaning effort.

Backsplashes, Grout, and Wall Protection

The cooking and sink zones usually need the most frequent wall cleaning. Compare the size and number of joints, surface texture, grout specification, edge details, outlets, and the transition to the countertop and hood. A highly textured tile or many small pieces may be visually appropriate, but the added edges and grout should be an intentional maintenance choice.

Ask how the selected tile, slab, grout, and sealant should be cleaned and whether the expected cleaner is compatible with every adjacent material. The best answer may differ between the range wall, coffee area, and a low-use display section.

Flooring and the Kitchen Traffic Path

Kitchen flooring should be evaluated for the actual traffic, transitions, pets, dropped items, water exposure, and cleaning equipment expected in the home. Look beyond the sample’s color. Texture, bevels, grout joints, plank gaps, and sheen can change both how debris appears and how the floor is cleaned.

Confirm the approved wet-cleaning method and product care requirements with the flooring manufacturer. Then review transitions at the pantry, mudroom, dining area, exterior door, and adjacent living space so dirt-catching edges are not created unnecessarily.

Sinks, Faucets, and Counter Penetrations

The sink zone combines water, soap, food residue, and frequent hand contact. Compare the sink’s corners, drain placement, ledges, accessories, and connection to the counter. Review the faucet base, handle arrangement, sprayer, soap dispenser, air switch, and any filtered-water tap together because every penetration creates another edge to wipe.

Ask how the sink and faucet finishes respond to the property’s water conditions and which cleaners the manufacturers approve. A finish that hides fingerprints may still show mineral deposits, and a dramatic sink accessory may add pieces that need regular cleaning.

Appliances and Ventilation Access

Appliance finish is only one part of maintenance. Check handles, control panels, door edges, trim kits, the space beside the range, and whether the refrigerator or dishwasher creates narrow gaps. Confirm how filters, drip trays, oven interiors, refrigerator shelves, and hood components are removed and cleaned.

Ventilation planning also affects residue around the cooking area. The appliance and ventilation teams should confirm the hood’s configuration, clearances, duct path, make-up air requirements where applicable, and access for filter maintenance. Follow the appliance manufacturers’ installation and care instructions rather than assuming one cleaner or routine fits every finish.

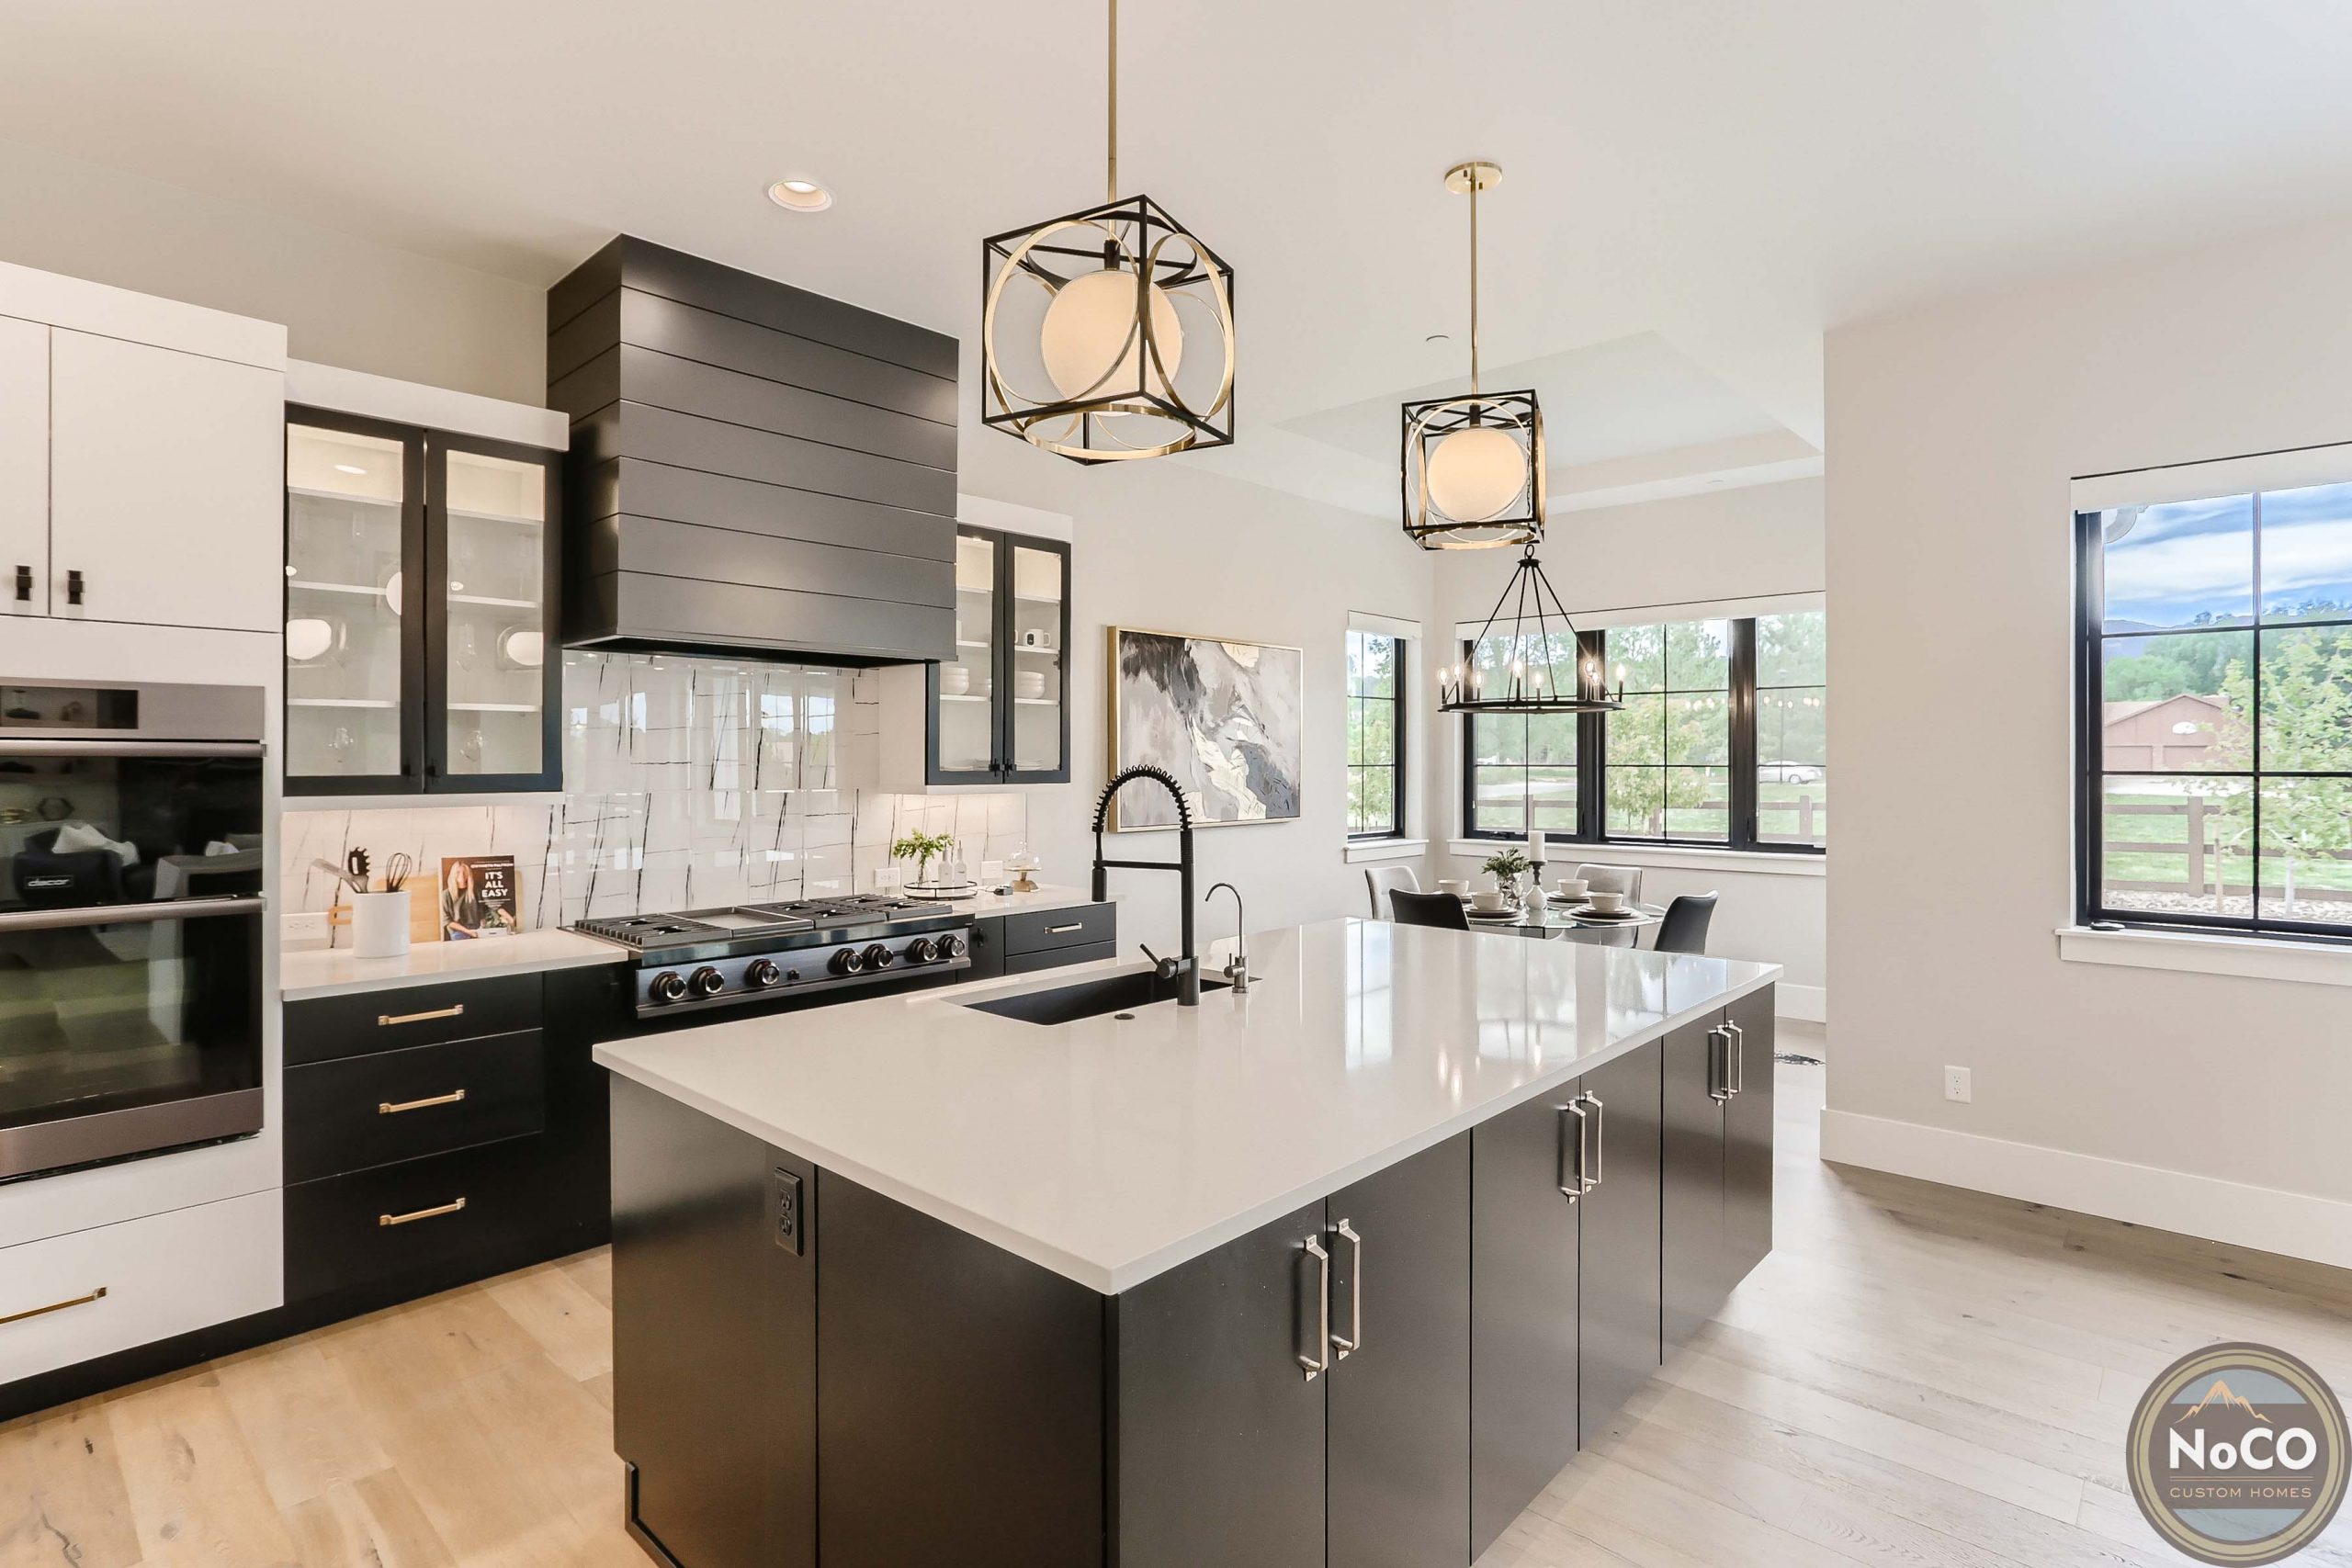
Completed NoCO kitchen showing appliance placement, cabinet details, counters, backsplash, and circulation
Use project photos to notice access around the range, refrigerator, sink, island, cabinet hardware, and circulation, not just the color palette.

Layout and Storage Can Reduce Cleaning Work

Finishes cannot compensate for a kitchen that is difficult to move through or keep organized. Place waste and recycling where food is prepared, provide landing space near major appliances, and plan storage for the tools and small appliances used most often. A clear counter is easier to wipe than one that must be emptied first.

Review where pet bowls, charging devices, mail, cleaning supplies, towels, and countertop appliances will live. Also check the toe-kick line, cabinet-to-wall fillers, open shelves, and the tops of tall cabinets. Each unresolved gap or display area can become another cleaning task.

Easy-Clean Selection Checklist

SelectionWhat to compare before approval
CabinetsDoor profile, finish sample, top edges, pulls, approved cleaner, and repair method
CountersCare guide, seams, edge, sink cutout, penetrations, heat precautions, and sealing guidance
BacksplashSurface texture, joint count, grout, range-zone coverage, outlets, and compatible cleaners
FlooringTexture, bevels or joints, transitions, wet-cleaning method, pets, and traffic path
Sink and faucetCorners, ledges, drains, finish, water deposits, accessories, and counter penetrations
AppliancesHandles, controls, side gaps, filter access, removable parts, and approved care
LayoutLanding space, waste location, small-appliance storage, pantry path, and clear counters

Test Samples Before Final Approval

Ask suppliers whether samples can be handled under realistic lighting. With their approval, test how fingerprints, water, and a normal wipe appear on the finish. Do not perform stain or cleaner tests that conflict with the manufacturer’s directions. Keep the final care documents with the selection record so the homeowner knows which products and methods were approved.

Frequently Asked Questions

Are flat-panel cabinets always easier to clean?

They have fewer grooves than detailed profiles, but the finish, color, sheen, edge construction, and hardware also affect daily care. Compare the exact sample rather than choosing by door style alone.

Which countertop is easiest to maintain?

There is no universal answer for every household. Compare the exact product’s care guide, sealing needs if any, heat and impact precautions, stain response, seam plan, finish, and warranty against the way you cook.

Does larger backsplash tile mean less cleaning?

Larger pieces may reduce the number of grout joints, but surface texture, grout choice, edge details, outlets, and the range-area layout still matter. Review the complete installed assembly.

What appliance finish hides fingerprints best?

Performance varies by manufacturer and finish. Test the actual sample or display model and ask for the approved cleaning method before deciding.

When should kitchen care requirements be reviewed?

Review them during selections, before products are ordered. That leaves time to compare alternatives, coordinate adjacent materials, and include the correct care information in the homeowner records.

Related Kitchen Resources

Takeaway

Choose easy-to-clean kitchen finishes by comparing the work created by the complete installation, not by relying on a single material label. Fewer hard-to-reach gaps, intentional joints, accessible appliances, practical storage, and written care instructions will make the finished kitchen easier to understand and maintain.

Source

error: Saving images to desktop is not allowed for images at this site.
eco-friendly custom home northern coloradocolorado kitchen storage solutions